There’s something special about a custom-made sign—it’s more than just décor; it’s a personal statement, a reflection of style, and sometimes even a cherished keepsake. I love bringing your ideas to life, whether it’s a special ornament to commemorate your new family, a business logo, or a personalized gift.
Today, I’m giving you a behind-the-scenes look at how I create a custom laser-cut sign, from concept to completion.
Step 1: The Idea & Design Phase
Every custom sign starts with an idea. Sometimes customers come to me with a clear vision, while other times they just have a theme or a feeling they want to capture. We work together to choose fonts, shapes, and materials that match their style.
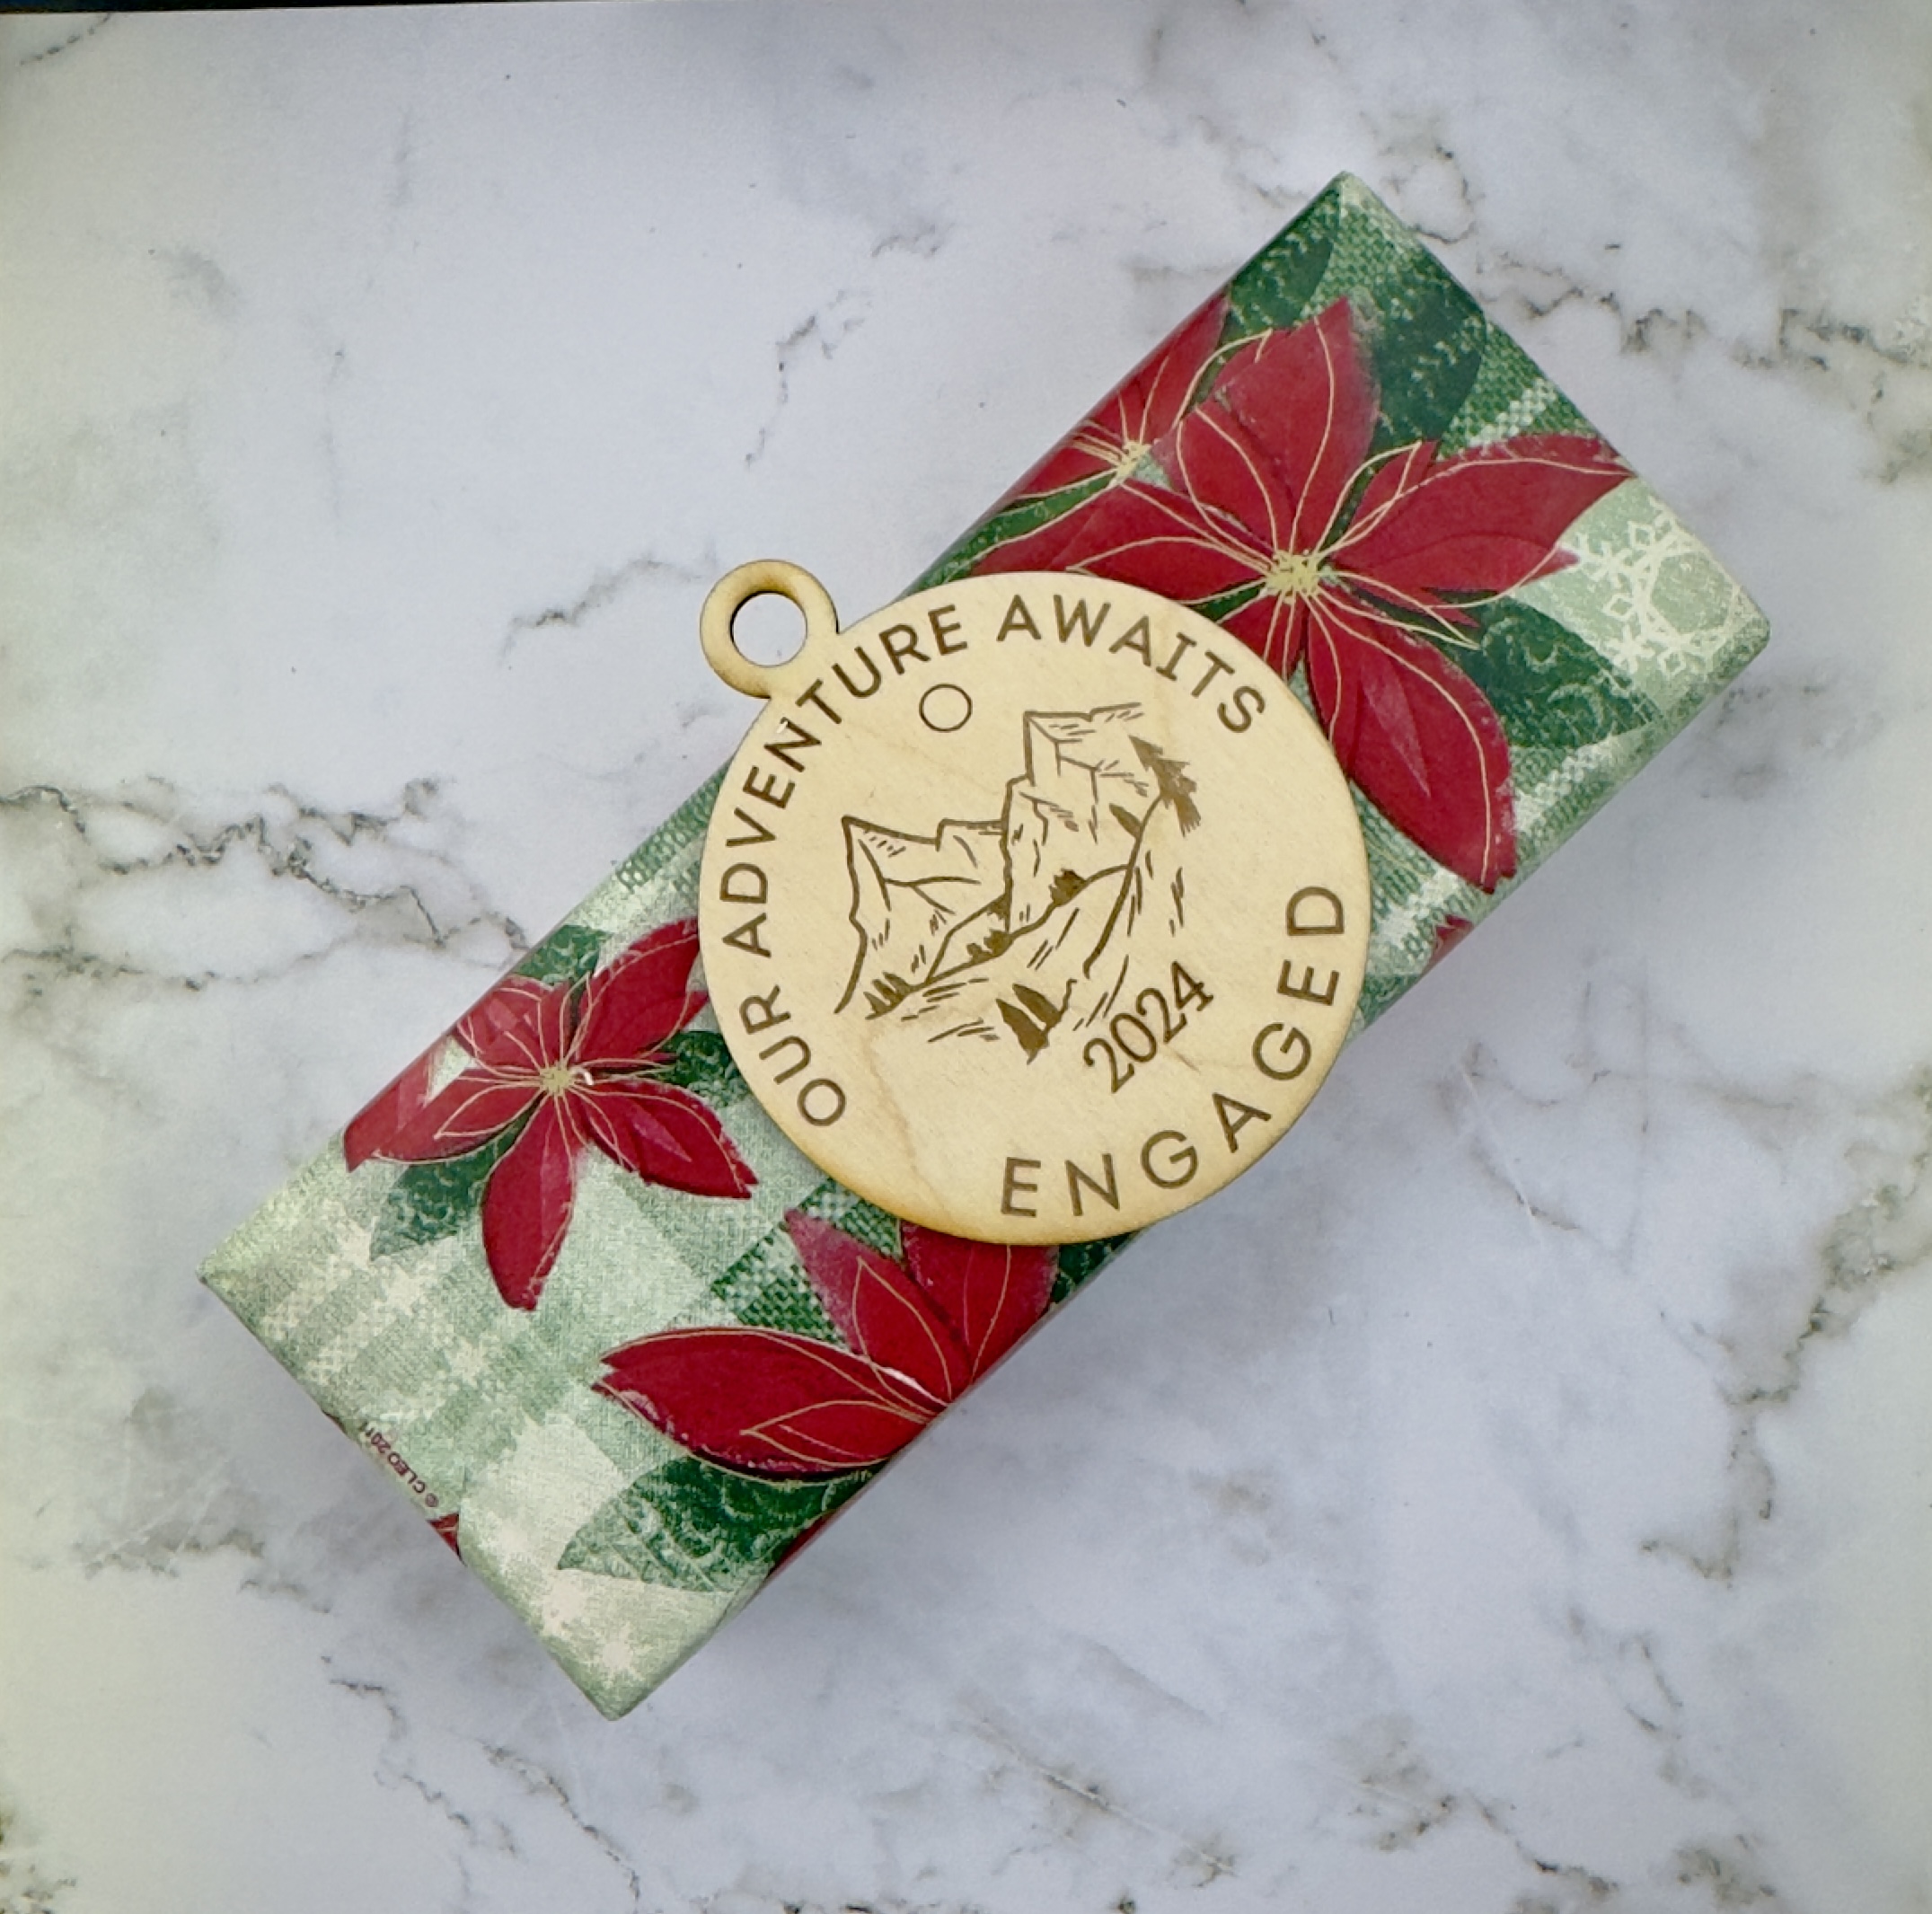
Whether it’s a recipe put on a cutting board to be a keepsake or an ornament designed specially for a friends engagement or babies first Christmas . These are always so fun to design and come up with. I love working with a customer to bring their ideas to life and creating a unique treasure all their own.
Once we have a direction, we create a digital design using specialized software. This allows us to adjust details like size, layout, and lettering to ensure the final piece looks perfect.
I try my best to make sure that everything is perfect, but there’s no such thing as perfect. I send mockups to my customers to check for any typos or mistakes I may have made. I do double-check everything before cutting anything, but I know there is always the possibility of me missing something. By sending these mockups, my customers have the opportunity to have a good look at everything before I cut to help ensure the correct spelling.
Step 2: Preparing the Materials
The next step is prepping the wood.I sand and stain it to achieve the desired finish. For a lot of my ornaments customers like to have blue, pinks, or other colors on their ornaments, for those I use alcohol markers.
Step 3: The Laser Cutting Process
Now for the exciting part—cutting and engraving! My laser machine follows the digital design with precision, cutting out letters, shapes, or intricate patterns with incredible accuracy. If engraving is involved, the laser carefully etches the design into the material, adding depth and detail.
This step requires careful monitoring to ensure every detail is crisp and clean. Once the cutting is complete, I inspect the piece and remove any excess material or residue.
Step 4: Assembly & Finishing Touches
For layered or multi-piece signs, we carefully assemble each component by hand. This might involve additional painting, staining, or adding 3D elements for extra dimension. We also attach mounting hardware, ensuring the sign is ready to hang or display.
Step 5: The Final Reveal
Before we send a sign off to its new home, we do a final quality check and package it securely. Whether it’s a heartfelt gift, a statement piece for a business, or a stylish home accent, we love seeing our customers’ reactions when they receive their one-of-a-kind treasure!
Ready to Create Your Own Custom Treasure?
If you’re looking for a unique, personalized sign, we’d love to bring your vision to life. Whether you have a specific design in mind or need help with ideas, let’s create something special together! Contact us today to get started.
Find me on socials:
Share this with someone who would love it!
Leave a Reply to seo expert for tech startups Cancel reply